What?!? No pictures!
I've noticed a few bloggers have mentioned running out of photo storage space. I've reached my limit too! Although, sometimes the system must experience a hiccup because occasionally, I can still upload photos directly from my PC. But, mostly I've been posting photos using the image hosting site,
Photobucket.
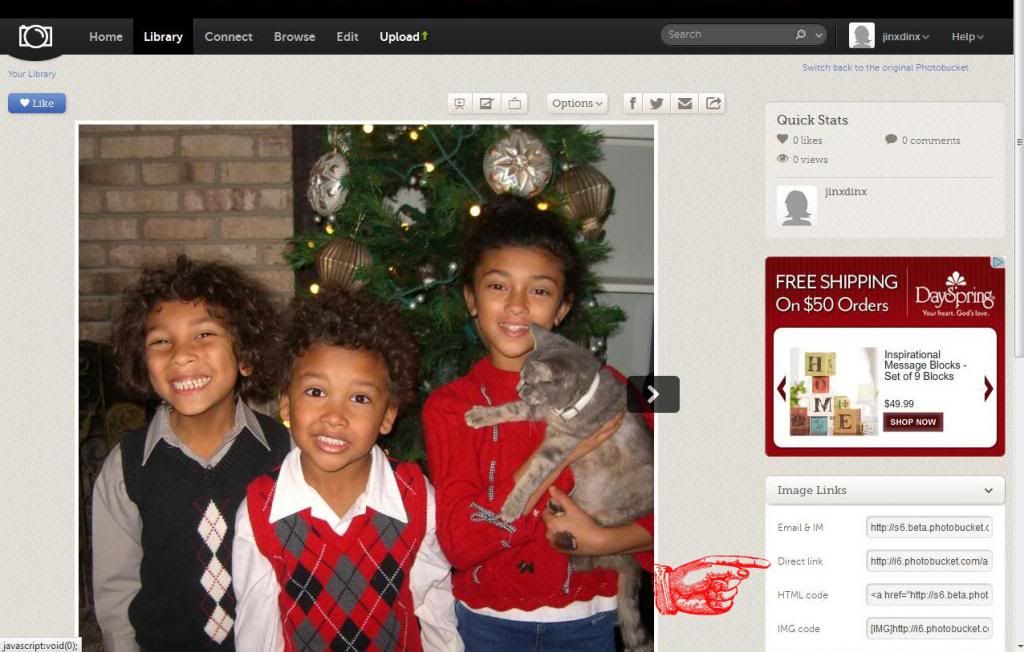
I started using Photobucket back in my Mommy/Baby message board days as a way to share belly progression and baby pics! Once you've set up your Photobucket account, it's pretty easy to use for posting photos in your blog posts. First, upload your photo. Then, copy the url listed in the Direct Link box. If you click in the Direct Link box, it will automatically copy the url. Or, you can highlight the entire url and right-click, copy or Ctrl+C (the shortcut to copy).
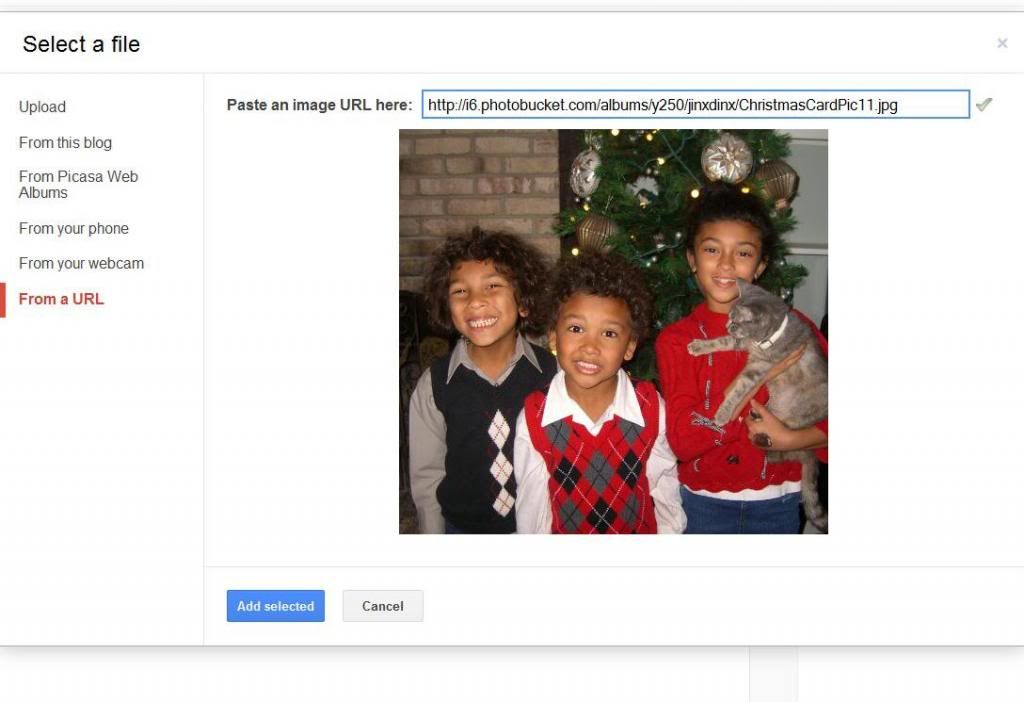
To insert the image into your blog post, go back to your open post (I usually have Photobucket open in one tab, and Blogger in another). Click Insert Image, select "From a URL" as the image source, and paste the url from Photobucket into the box. If the url is correct, the image will appear. Then, click "Add Selected" to place the image in the post. Easy peasy lemon squeezy!
Photobucket offers a number of paid storage options to choose from. However, I have the 2GB FREE storage account. I currently have 710 images in my library and it's registering as only 4% full. You can also edit photos in Photobucket and add different effects!
At some point, I will probably have to look into paid storage. Or delete old pictures. But, I did want to share this with those who may not be aware of the free image hosting sites out there!
Mary Ellen