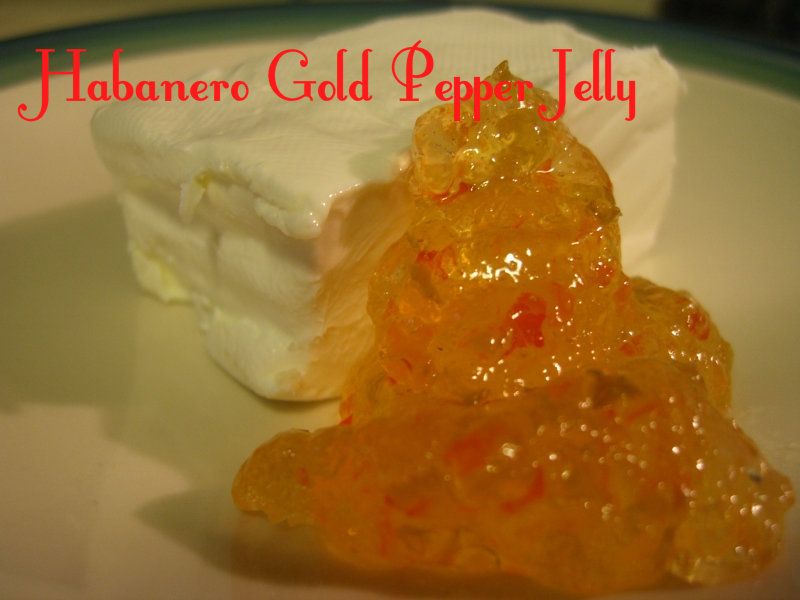
Habanero Gold Pepper Jelly
1/3 cup finely, sliced dried apricots
3/4 cup white vinegar
1/4 cup finely chopped red onion
1/4 cup finely chopped seeded red bell pepper
1/4 cup finely chopped seeded habanero peppers
3 cups sugar
1 pouch liquid pectin
1. In a large stainless steel saucepan, combine apricots and vinegar. Cover and let stand at room temperature for at least 4 hours or overnight.
2. Prepare canner, jars and lids.
3. Add red onion, red pepper and habanero peppers to apricots. Stir in sugar. Over high heat, stirring constantly, bring to a full rolling boil that cannot be stirred down. Stir in pectin. Boil hard, stirring constantly for 1 minute. Remove from heat and quickly skim off foam.
4. Pour hot jelly into prepared jars, leaving 1/4 inch headspace. Wipe jar rim. Center lid on jar. Screw band down until fingertip-tight.
5. Place jars in canner. Bring to a boil and process for 10 minutes. Remove jars, cool and store.
*To enhance particle suspension, cool jars upright for 15 to 30 minutes or until lids pop down but jelly is not fully set. As soon as lids are concave, gently twist and/or tilt individual jars to distribute the solids throughout the jelly. Do not shake or invert jars! Doing so might prevent jars from properly sealing.
(Note: My jelly was pretty well set once the lids popped. But, my peppers and onions seemed to be very well distributed throughout the jelly. I chopped them finely using my food processor and that may have helped with the even suspension).
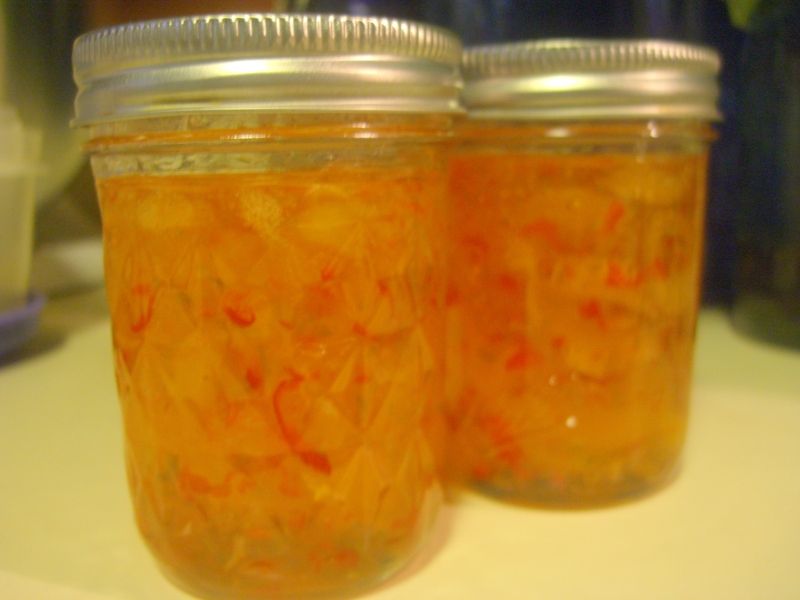
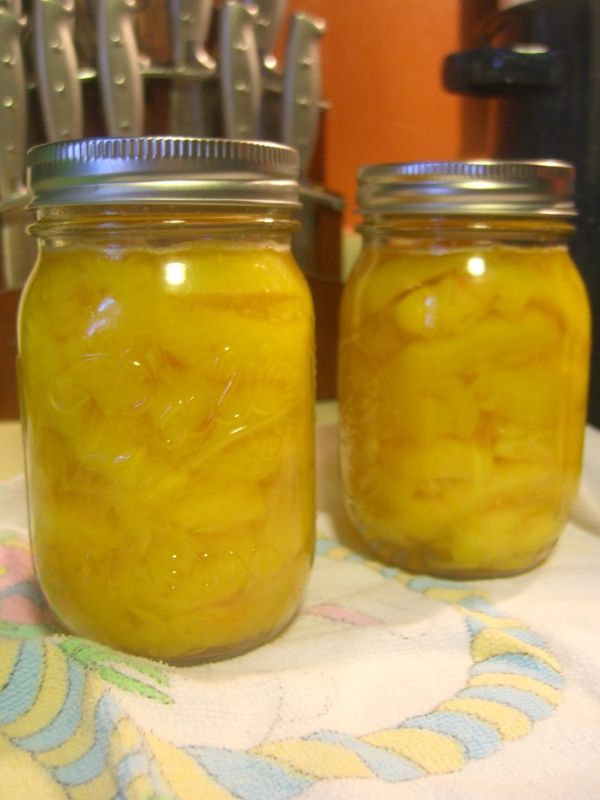
The recipe yielded 3 and half pint jars of jelly for me. I placed the half jar in the refrigerator for immediate use, instead of processing. We scoffed it down with some cream cheese over dinner!
This was my first time using liquid pectin while canning. Very simple and just a slightly different procedure than powdered pectin. With powdered pectin, you add the sugar in after the fruit and pectin has come to a full rolling boil. With liquid pectin, you add your sugar in with fruit at the start. Bring the fruit and sugar to a full rolling boil. Then, add the liquid pectin and boil hard for 1 minute. My jelly seemed to set better with the liquid pectin (didn't need to do the sheet test). So, I might just try it with my other jam and jelly recipes.
Happy Canning!
Mary Ellen